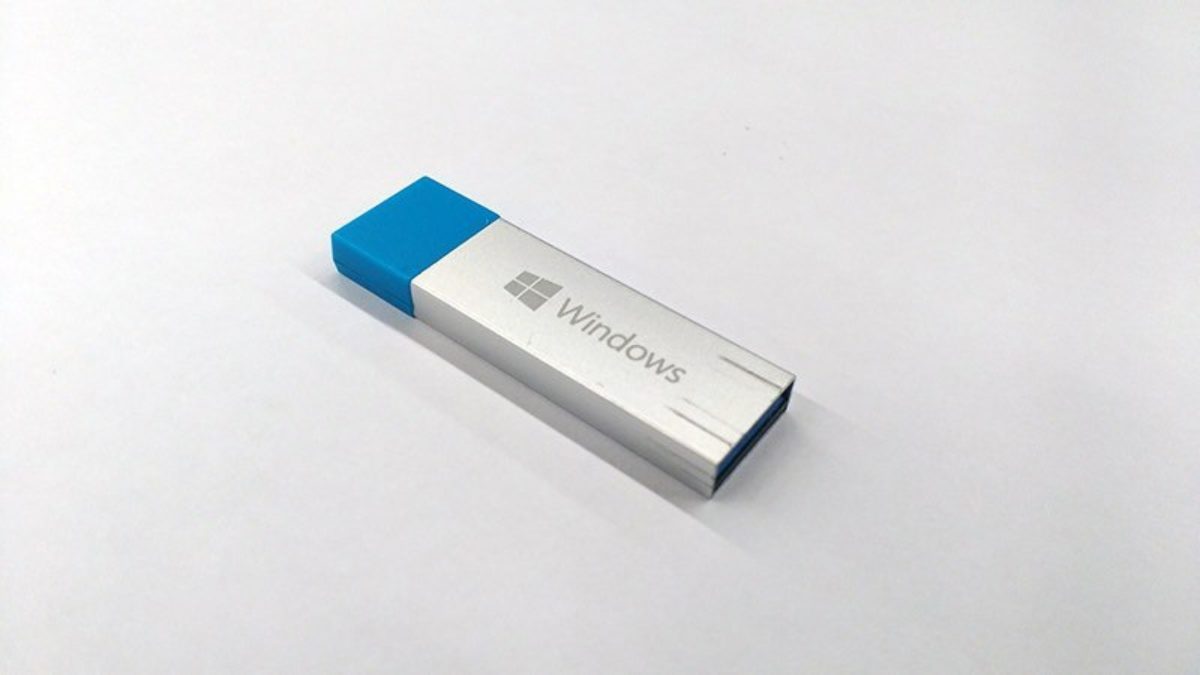
How to Create a Bootable USB Flash Drive
You can create a bootable USB flash drive to use to deploy Windows Server Essentials. The first step is to prepare the USB flash drive by using DiskPart,
- Insert a USB flash drive into a running computer.
- Open a Command Prompt window as an administrator.
- Type
diskpart. - In the new command line window that opens, to determine the USB flash drive number or drive letter, at the command prompt, type
list disk, and then click ENTER. Thelist diskcommand displays all the disks on the computer. Note the drive number or drive letter of the USB flash drive. - At the command prompt, type
select disk <X>, where X is the drive number or drive letter of the USB flash drive, and then click ENTER. - Type
clean, and the click ENTER. This command deletes all data from the USB flash drive. - To create a new primary partition on the USB flash drive, type
create partition primary, and then click ENTER. - To select the partition that you just created, type
select partition 1, and then click ENTER. - To format the partition, type
format fs=ntfs quick, and then click ENTER. - Type
active, and then click ENTER. - Type
exit, and then click ENTER. - When you finish preparing your custom image, save it to the root of the USB flash drive.


Excellent post. I used to be checking continuously this weblog
and I am impressed! Extremely helpful information specifically the last section :
) I care for such info a lot. I was seeking this certain information for a
long time. Thank you and good luck.
I do believe all the ideas you’ve introduced in your post.
They are very convincing and will definitely work.
Still, the posts are very brief for newbies. Could you please prolong them a bit from subsequent time?
Thanks for the post.