Tally
Creating Ledgers and Groups in Tally Prime
Nov
Creating Ledgers and Groups is fundamental in Tally Prime for proper account classification. Tally Prime provides 28 default Groups, but you can create additional ones or specific Ledgers as needed.
🚀 How to Create a Ledger
You can create Ledgers individually or ‘on the fly’ while recording a transaction.
1. Single Ledger Creation (From Gateway of Tally)
-
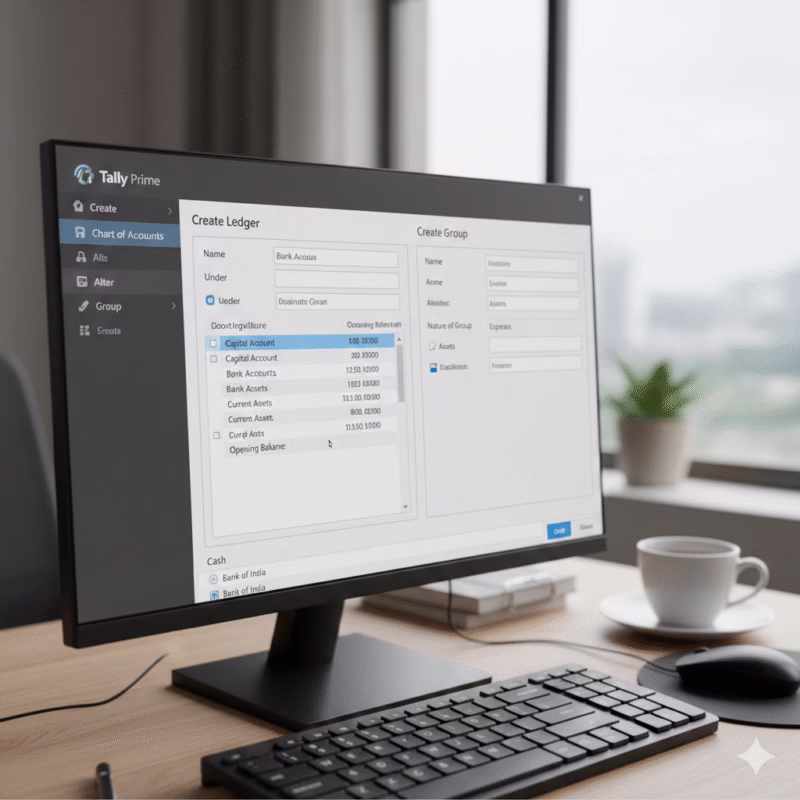
From the Gateway of Tally, select Create and press Enter.
-
Select Ledger from the list of Masters and press Enter.
-
Fill in the details in the Ledger Creation screen:
-
Name: Enter the name of the ledger (e.g., ‘Office Expenses’, ‘Ravi Traders’). Duplicate names are not allowed.
-
Alias: (Optional) Enter a nickname for the ledger.
-
Under: This is the most crucial step. Select the appropriate Group from the List of Groups displayed (e.g., ‘Office Expenses’ under Indirect Expenses; ‘Ravi Traders’ under Sundry Creditors or Sundry Debtors).
-
Tip: If you need to create a new Group while here, press Alt+C.
-
-
Mailing Details/Tax Registration Details: Fill these details, especially for Ledgers representing parties (debtors/creditors).
-
Opening Balance: Enter this if the ledger is an Asset or Liability and has a balance at the beginning of the books.
-
-
Press Ctrl+A to save the Ledger.
2. Create on the Fly (From a Voucher Screen)
When you are on a Voucher Creation or Alteration screen and need a Ledger that doesn’t exist:
-
In the field where the Ledger name is required, press Alt+C.
-
The Ledger Creation (Secondary) screen will appear.
-
Enter the details as described above.
-
Press Ctrl+A to save, and you will return to the voucher screen with the new Ledger selected.
🗂️ How to Create a Group
Groups are used to classify Ledgers of a similar nature (e.g., all suppliers under Sundry Creditors).
-
From the Gateway of Tally, select Create and press Enter.
-
Select Group from the list of Masters and press Enter.
-
Fill in the details in the Group Creation screen:
-
Name: Enter the name for the new Group (e.g., ‘North Zone Sales’).
-
Alias: (Optional) Enter a nickname.
-
Under: Select the Primary or Sub-Group under which this new Group should be classified (e.g., ‘North Zone Sales’ under Sales Accounts).
-
Note: The selection here dictates whether the Group (and its ledgers) will appear in the Balance Sheet or the Profit & Loss Account.
-
-
-
Press Ctrl+A to save the Group.